Import data from other extensions
sh404SEF is a Joomla-3 only extension. It will be/has been discontinued on August 17, 2023.
You can switch from sh404SEF to 4SEF for SEF URLS and 4SEO for an all-in-one Joomla SEO extension, which both run on Joomla 3 and Joomla 4.
Please refer to the sh404SEF FAQ page for more details.
When migrating from another SEF extension to sh404SEF, it might be important to be able to preserve existing URLs and/or metadata and redirections. To this effect, sh404SEF includes an importer plugin, that can extract data from existing MijoSEF and JoomSEF installations.
This tool is provided as a convenience. We cannot guarantee the exactness and completeness of the data transfer, as SEF extensions operates differently.
Requirements
The sh404SEF importer extracts data from existing MijoSEF and JoomSEF databases that live on the same server as the target for import. The source database tables do not need to be on the same site, only on the same server.
Data will be imported into the Joomla database of the site where the Importer plugin has been installed.
We do not specify any minimal version for MijoSEF or JoomSEF, but the more recent, the better. Import will fail if the source data is too old, so it is advised to update to the current version of the extension used before importing to sh404SEF.
Installation/Removal
The Importer plugin is standalone, in that it must be downloaded and installed separately from sh404SEF itself. sh404SEF must be installed for the plugin to operate.
After the import process has completed, the Importer plugin can be uninstalled.
Both install and uninstall are performed through the Joomla! installer. The Importer makes use of the Joomla! updater, so if any update becomes available while you are using it, you will be notified by Joomla jsut like any other extension. Update to the new version using the Joomla! updater.
Operation
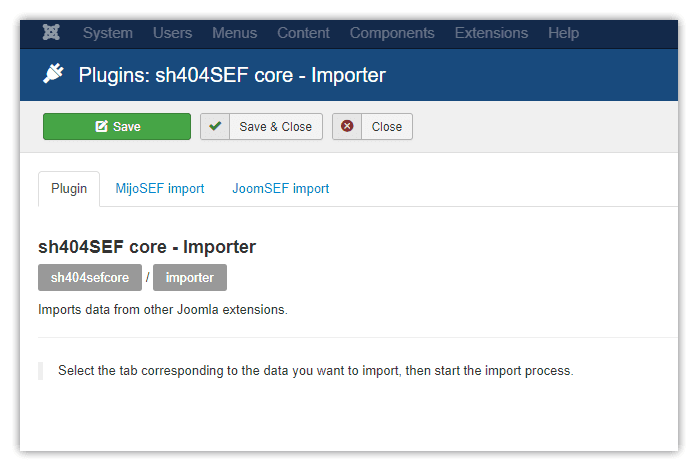
After installation, go to the Importer plugin settings, using the Joomla! plugins manager. The plugin has 2 tabs, JoomSEF and MijoSEF. Select one or the other depending on which extension you are importing from.
The settings on each tab are identical, so we will use the MijoSEF tab as an example. The settings are split in 2 parts: Import settings and Data to import. After selecting suitable settings, you can then press the Press to start import button at the bottom of the page.
The import process can be very long, depending on how much data there is to import. It's done through an ajax process, where import is broken down into small parts, and so should be able to handle very large import volumes.
Import settings
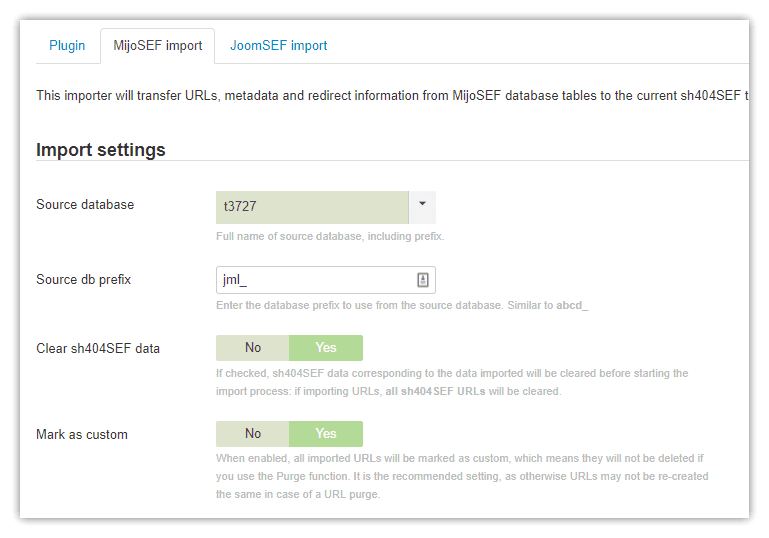
- Source database: this list will display all the databases available on your server, which the importer can access to read data from. Select the one that corresponds to your source site. This can be the same as the current site, if you added sh404SEF on the same site.
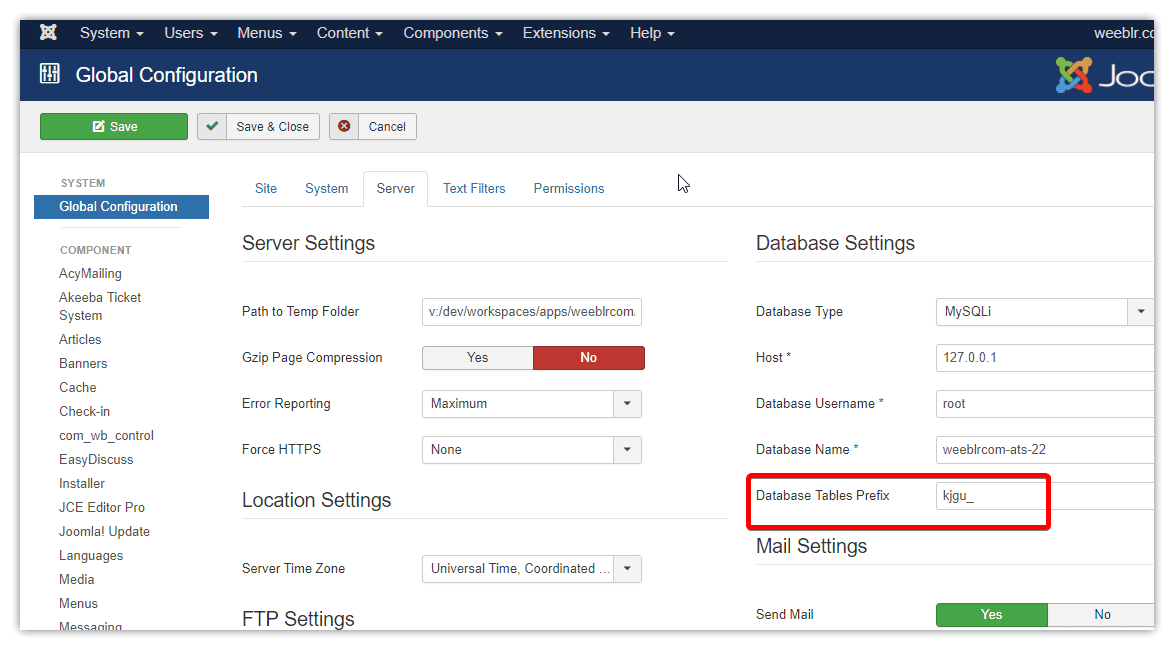
- Source db prefix: this is the table prefix used by Joomla! when storing data to the database. You will find it on the Joomla! Server tab of the Global configuration. Copy it exactly as found on the source site:
-
Clear sh404SEF data: If enabled, sh404SEF existing data will be cleared before importing. This is the recommended setting, as leaving pre-existing data can lead to a mixture of old and new, inconsistent data.
- Marks as custom: If enabled, imported URLs will be marked as Custom by sh404SEF. Custom URLs are not deleted when URLs are purged. This means all your imported URLs will be preserved if you accidentally press the Purge button. If not marked as custom, imported data could be purged, and when re-created automatically by sh404SEF, the new URLs would probably be different than the imported ones (or else you would not need an importer!). This would cause a change in URLs and thus possibly many 404s on your site. It is not recommended to change this setting.
Data to import
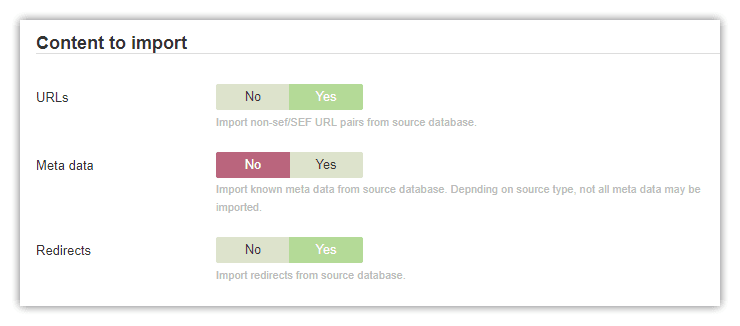
You can select which data to include or exclude from the import process, depending on your specific use case. It is considered best practices to import all types of data simultaneously, to ensure consistency, but your mileage may vary.
Note that when existing sh404SEF data is deleted just before import starts, only the imported types data is affected. For instance, if you decide to NOT import meta data, then existing sh404SEF meta data will not be cleared at the start of the import, only URLs and Redirects.
Importing
After all options have been set, press the start button:
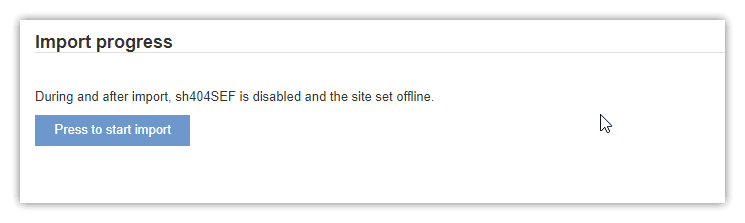
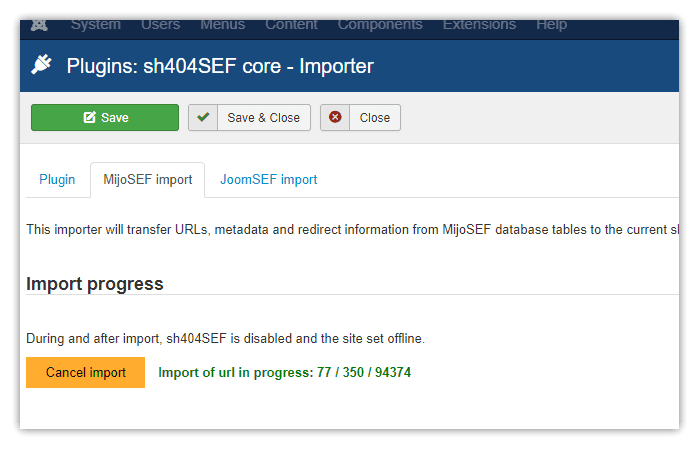
As soon as the import starts, your site is set offline and sh404SEF is disabled. This is to ensure that imported data is consistent. Likewise, as sh404SEF data is deleted before import, many users would be faced with 404s and incorrect redirects or meta data, thus the need to set the site offline.
During the import operation, counters are displayed to show progress, as well as a Cancel import button, which you can click any time:
Once complete, a summary of the import is displayed as follow:

After import completion
As mentioned earlier, the site has been set offline during import, and sh404SEF is disabled. They are not put back online automatically. The recommended course of operation is to:
- Enable back sh404SEF, and check number of URLs in database, check meta data, etc
- Test the site front end, still offline
- Set back the site online when all appears well.