Import data from Joomfish
Josetta has been discontinued as of January 20, 2017. It is not developed any longer, and unsupported. This documentation is left available as a reference for past users.
Preamble
- the target Joomla! 3+ site should be configured properly (see Prepare your site for multilingual operation on this page)
- the export zip file must be uploaded through Josetta on your site. Depending on the volume of data involved, you may have to adjust your web server PHP settings to accomodate larger-than-usual files. The importer will let you know what's the maximum upload file size your web server allows.
It may well happen that the data exported from Joomfish is non consistent and not 100% suitable for import into the Joomla! multilingual system. In some cases, Josetta will be able to fix the problem, such as creating intermediary categories in the right language if they have not been translated in the source site. This may not always be possible, and will then require manual work on your part to fix the original site before exporting.
Import process
Josetta will import a data file coming from the exporter and create automatically appropriate records inside your Joomla! 3.4+ site:
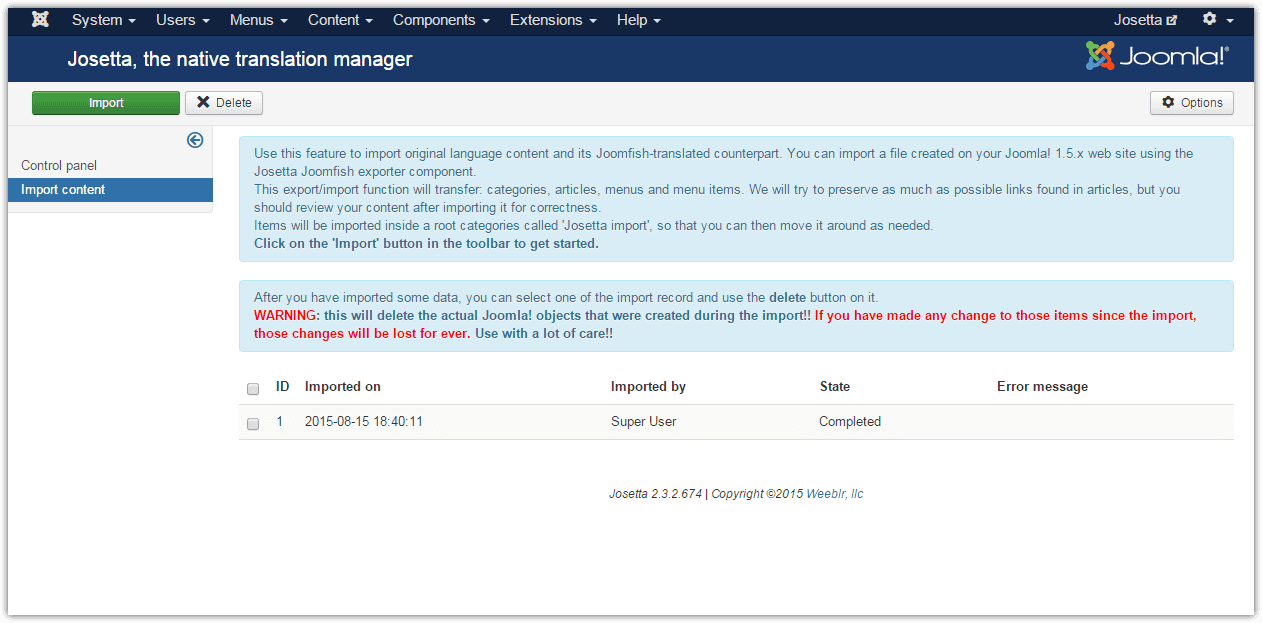
- each import will create a separate set of menus, articles, categories, etc identified by a number
- you can then delete the imported data, in case something didn't go right, and you have to make some changes to the source web site before redoing an export
The
Deletebutton will delete all content that has been imported ruding a given import run. It's meant to allow you to retry an export/import process in case you have to make some fixes to the original site. However, you should be careful to not use it on successfull imports, especially if you have spent some additional time updating and working on your imported data.
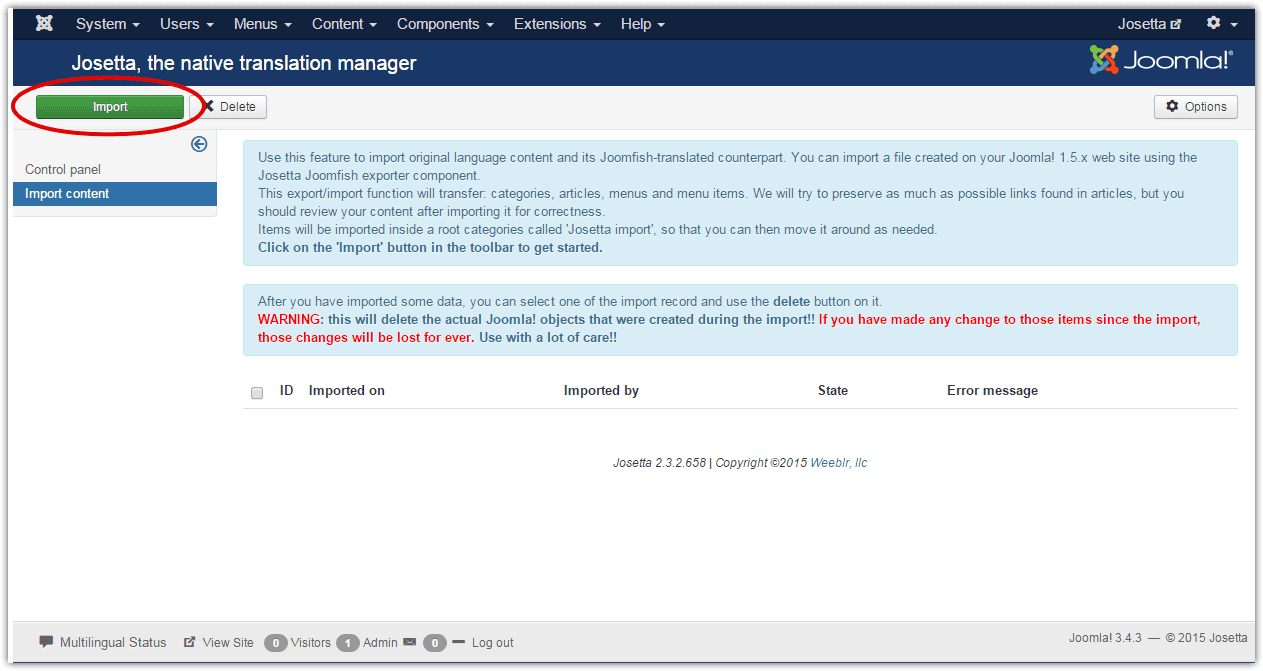
Running the import wizard
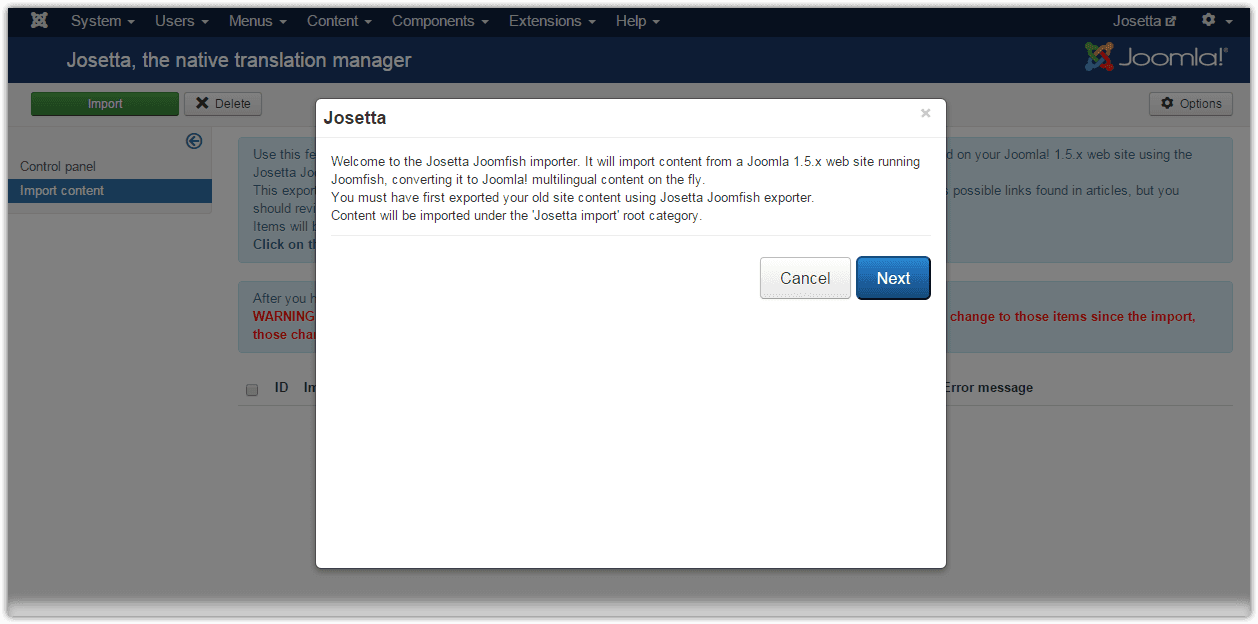
Clicking on the Import button will start the import wizard:
The second page will let you select the exported file, the result of the export process ran on your original Joomfish-based Joomla 1.5.x site:

As can be seen on the screenshot, the wizard will also tell you what's the maximum file size your server accepts for uploading. If your export file is bigger than that, you will have to adjust your server settings to allow bigger files upload.
This usually involves increasing the values of UPLOAD_MAX_FILESIZE and POST_MAX_SIZE in your php.ini. Please contact your hosting company if you need assistance on doing this.
After selecting a file, and clicking the Next button, Josetta will start importing data, and display progress information on the way:
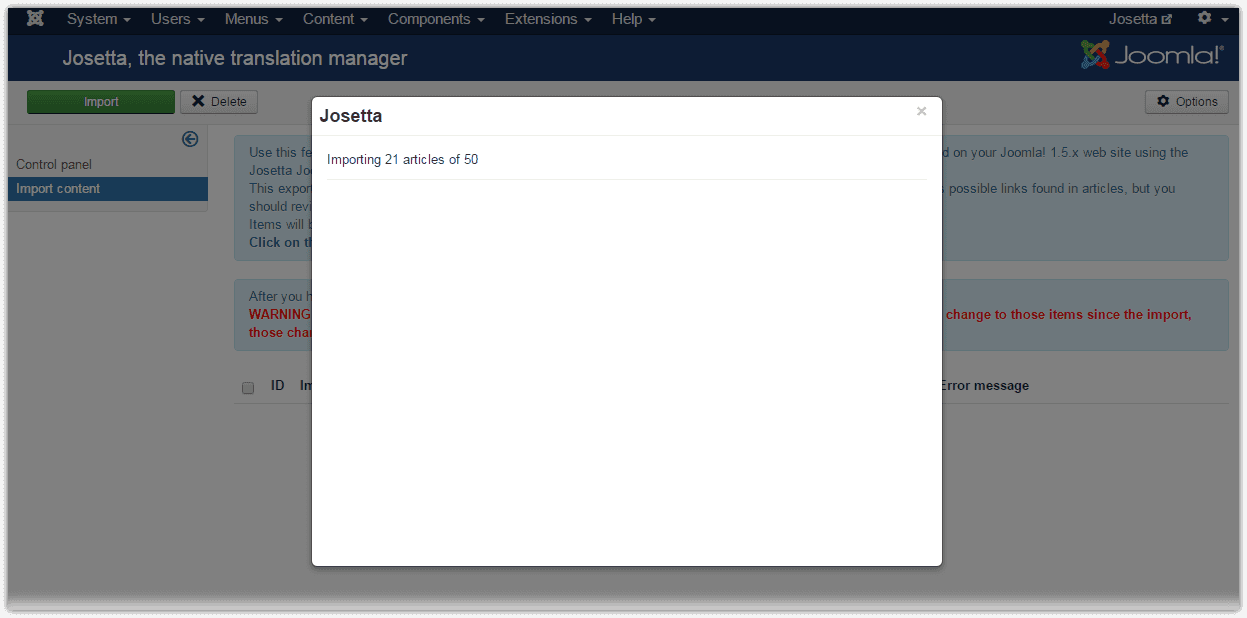
The import process includes a so-called post-processing phase, where the imported items will be "fixed" to adapt to the new site. For instance, if a menu item points to an article, then this menu item must be modified to account for the imported article new id in the database.
Links must also be adjusted to account for the Joomla! 2 and 3 new URLs format. Josetta importer should be able to identify and fix automatically many Joomla! 1.5.x links:
- Original links must have been created according to Joomla! guidelines, that is as non-sef links
- Josetta can fix links for: com_content, com_users and com_weblinks
Finally, once all data has been imported, the final page will tell you so, and clicking on the Terminate button will clear temporary data that has been stored on disk or in the database:

Managing the imported data
All imported data has been stored into the target site complying with the structure (nested categories or menus) that was on the source site, but it has been put in separate root categories, to avoid interfering with existing content on the target site. Therefore, after importing, content should be re-arranged into the proper categories and menu structure. Most times, it will mean only renaming the root categories and menu items.
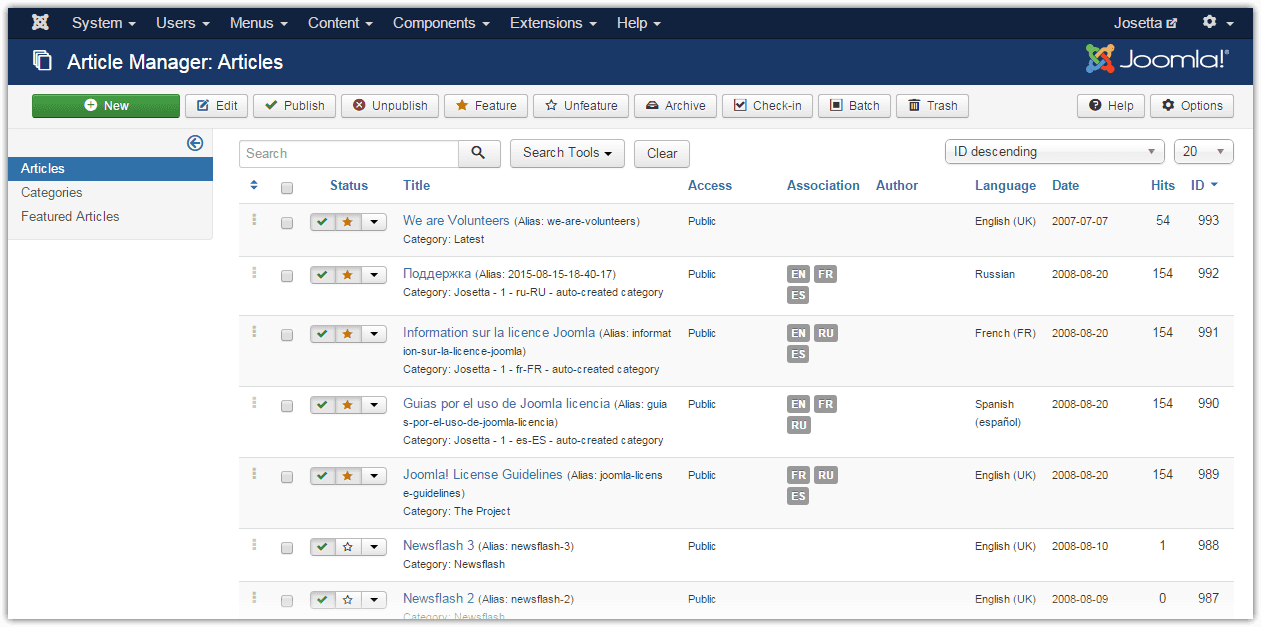
Articles will be imported as is, but can be stored in automatically created categories:
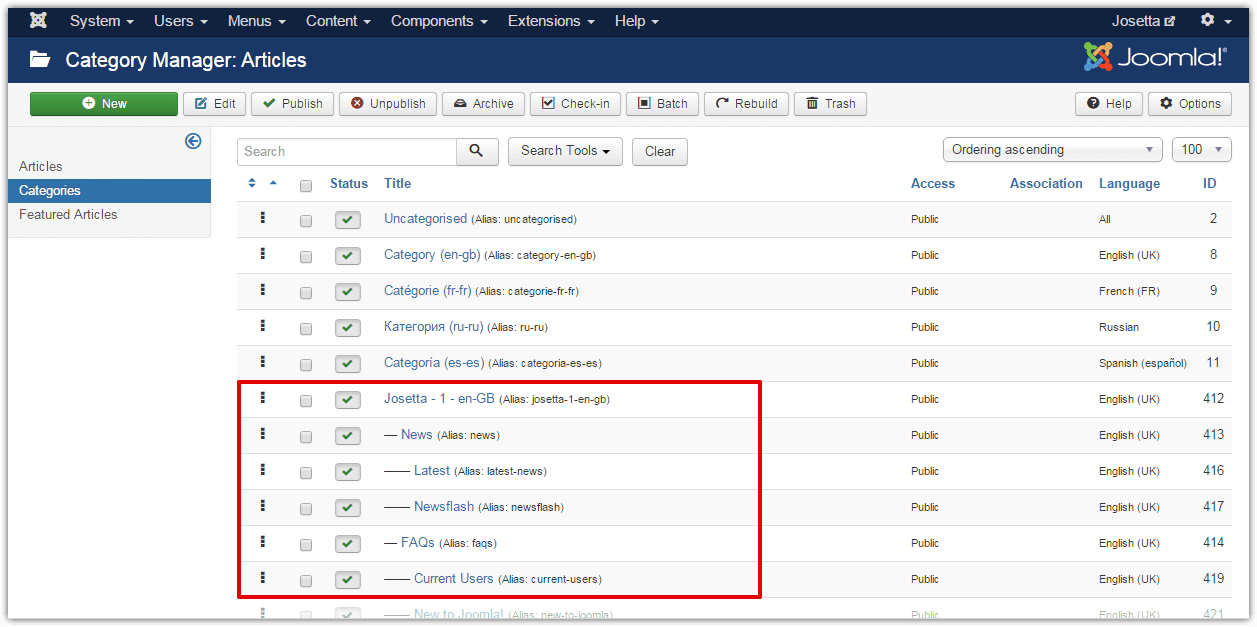
Here are some imported categories. The nesting of categories has been complied with, however the root category is a custom-created Josetta category. This is to avoid collisions with your existing site structure. You can then move around categories and content using Joomla regular content manager to put them into their final position.
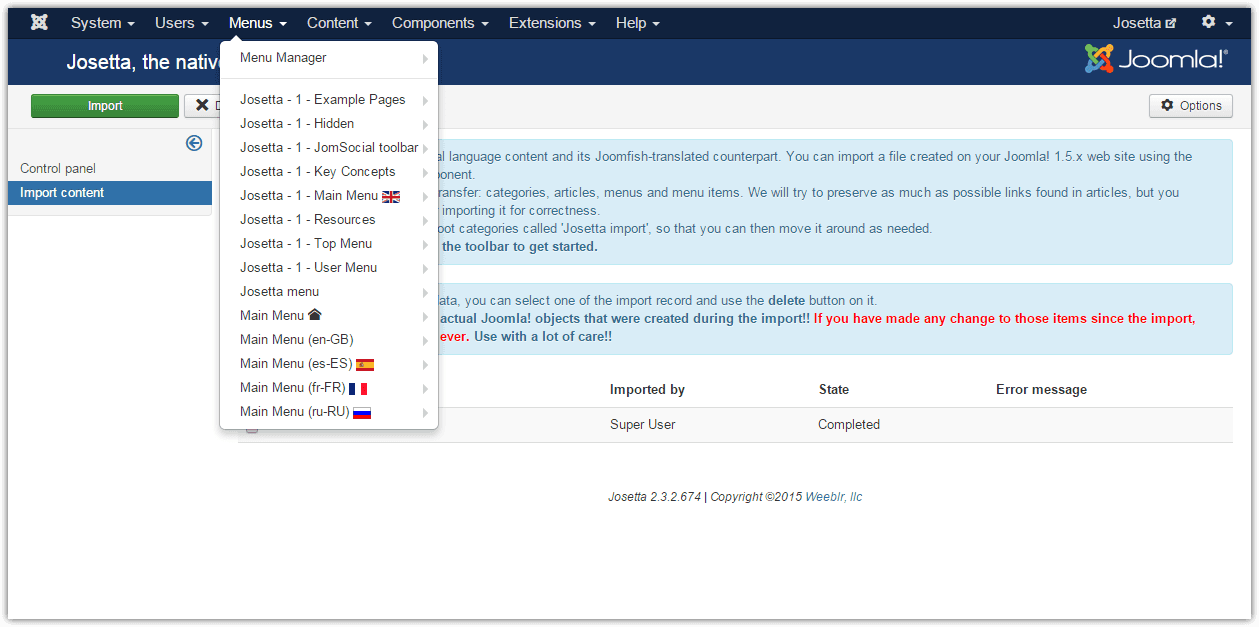
Finally, here is a set of imported menu items: